Today’s tutorial will teach us how to implement Navigation in Kotlin Compose Multiplatform (KMP KMM) using JetBrains’ official navigation-compose library for Android, iOS, and web apps. This guide will integrate two screens. You can navigate from Screen_1 to Screen_2 with a button click.

Navigation in Kotlin Compose Multiplatform (KMP KMM):
Multiple libraries are available online to integrate navigation in Kotlin Compose Multiplatform apps like Voyager and Decompose. But our main aim is to use JetBrains’ official navigation-compose library for Navigation and routing. A shared codebase makes navigation easier and more consistent across Android and iOS. In this tutorial, we will set up a navigation-compose library in a KMP KMM project, creating two screens and navigating between them using NavController and NavHost.
1. Add Navigation Compose Dependency in the project:
1. The navigation-compose library is still in its beta mode, and at the time of creating this tutorial, the current version is navigation-compose:2.8.0-alpha10. Now, there will be updates in the navigation dependency, so please visit the official page from HERE before integrating the dependency and check out the version as well.
|
1 2 3 |
// dependency implementation("org.jetbrains.androidx.navigation:navigation-compose:2.8.0-alpha10") |
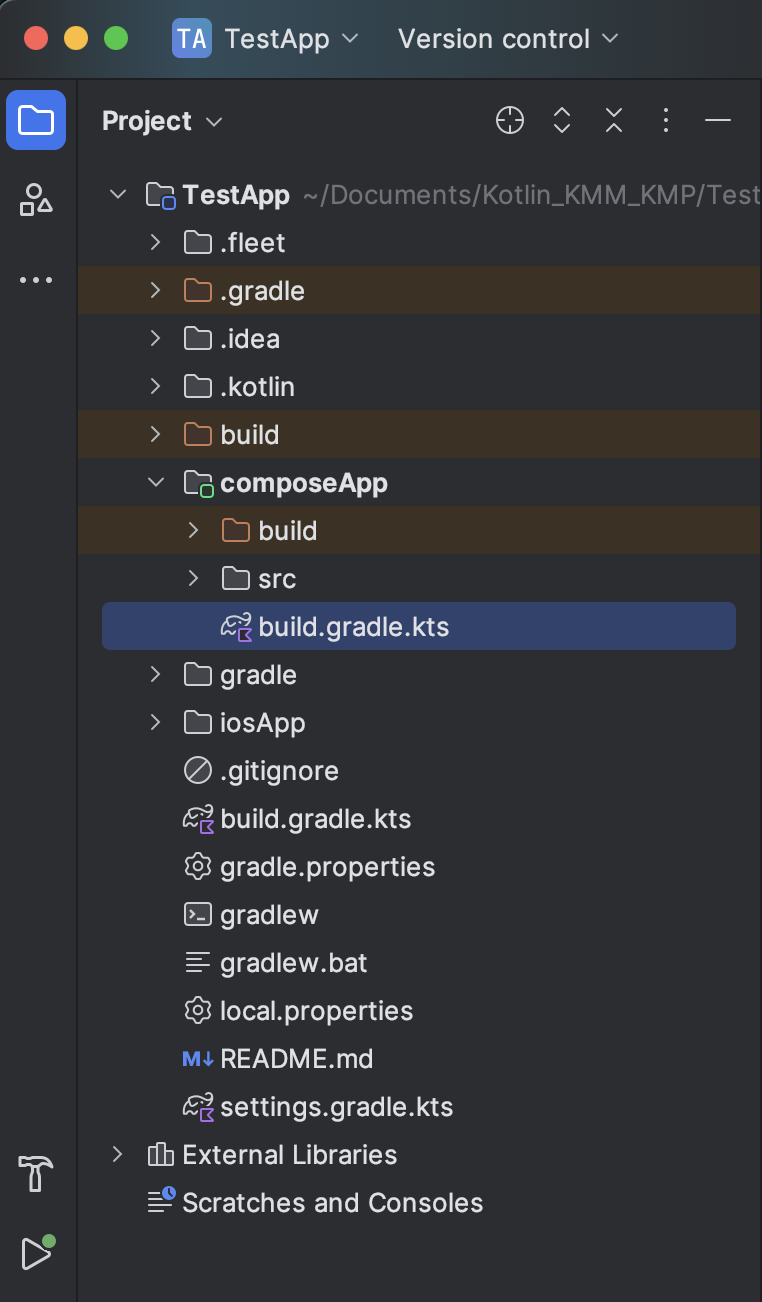
2. Open your KMP KMM project’s build.gradle.kts present in composeApp -> build.gradle.kts .
3. Inside the commonMain.dependencies { } block, add the navigation-compose library.
|
1 2 3 4 5 6 7 8 9 10 11 12 |
sourceSets { androidMain.dependencies { } commonMain.dependencies { // Add this. implementation("org.jetbrains.androidx.navigation:navigation-compose:2.8.0-alpha10") } } |
4. After adding the dependency, you have to sync the project. So, click on the Sync Now button. It will take a few minutes to download and install all the required packages for this dependency.
2. Start coding for the app:
1. This is the fire structure of the app.
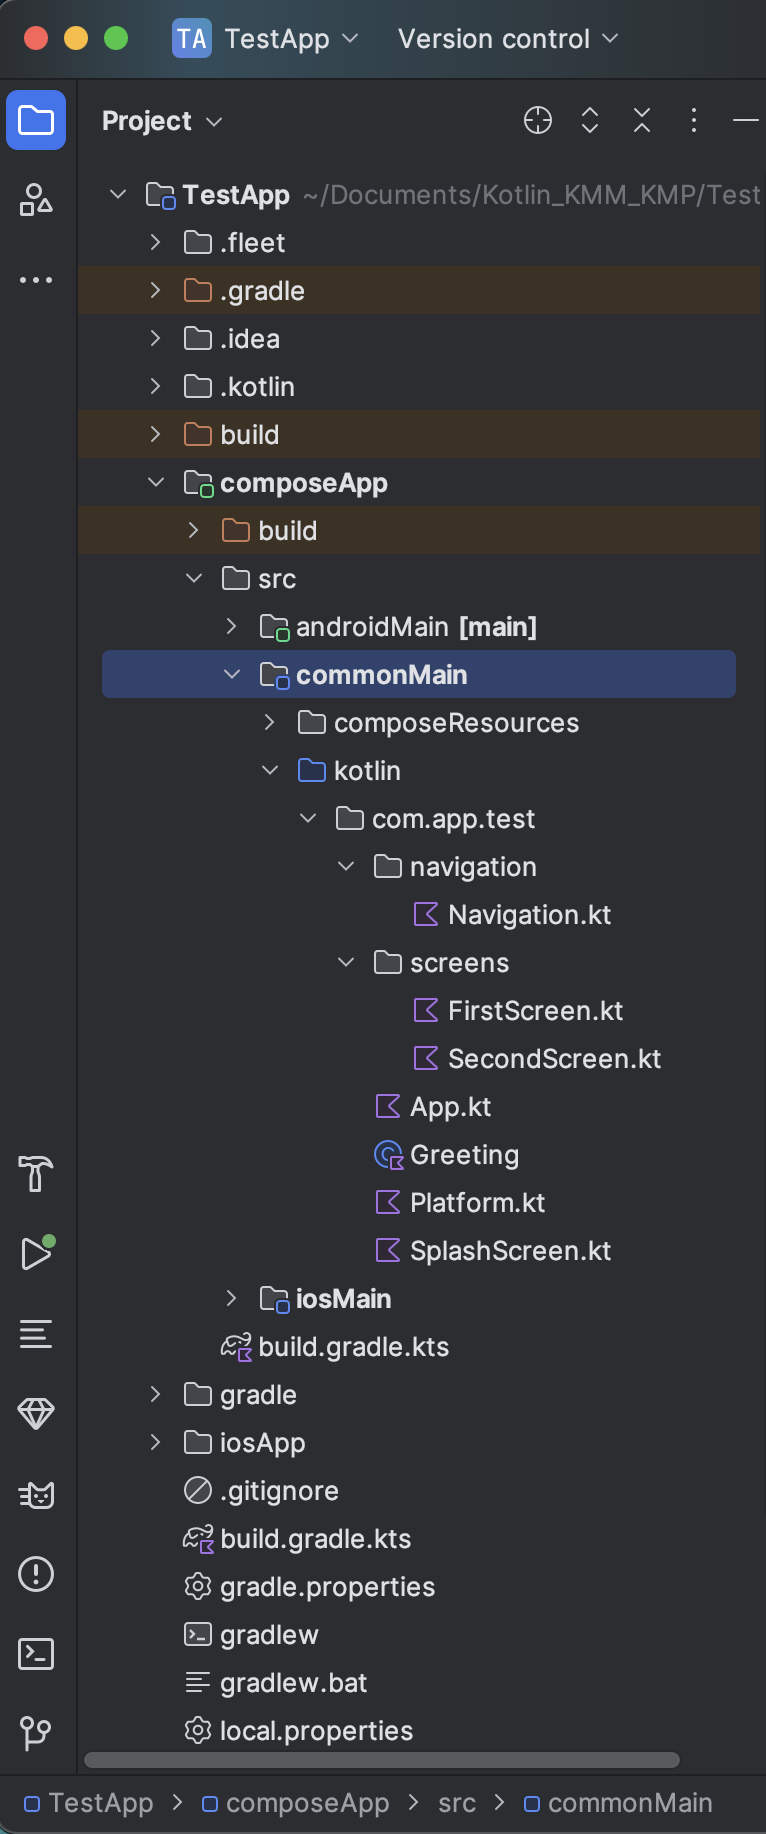
2. Code for Navigation.kt file.
|
1 2 3 4 5 6 7 8 9 10 11 12 13 14 15 16 17 18 19 20 21 22 23 24 25 |
package com.app.test.navigation import androidx.compose.runtime.Composable import androidx.navigation.compose.NavHost import androidx.navigation.compose.composable import androidx.navigation.compose.rememberNavController import com.app.test.screens.FirstScreen import com.app.test.screens.SecondScreen @Composable fun AppNavigation() { val navController = rememberNavController() NavHost( navController = navController, startDestination = "first_screen", ) { composable("first_screen") { FirstScreen(navController) } composable("second_screen") { SecondScreen(navController) } } } |
Code explanation:
1. Creating a Navigation Controller:
- Inside the function, a NavController is initialized using rememberNavController().
- This controller manages the screen transitions and navigation stack.
2. Setting up NavHost:
- The NavHost component defines the navigation graph.
- It connects the NavController to the available routes (screens).
- A start destination is specified to determine the default screen shown when the app launches.
3. Defining the First Route (“first_screen”):
- A navigation route is registered with the name “first_screen“.
- The UI from FirstScreen() is displayed when this route is triggered.
- The navigation controller is passed into FirstScreen() to navigate to other screens when needed.
4. Defining the Second Route (“second_screen”):
- Another route is registered with the name “second_screen“.
- This displays the content of the SecondScreen(), which is composable when navigated to.
- Again, the navigation controller is passed for consistent routing access.
5. Composable Screens (FirstScreen & SecondScreen):
- These are the UI screens that you define elsewhere in your project.
- Each one can include buttons or UI events that call the navController.navigate(“target_route”) to move between screens.
6. Navigation Lifecycle Awareness:
- Since rememberNavController() is used inside a Composable, it is automatically lifecycle-aware and recreated if needed.
- This helps keep the navigation stack reliable across configuration changes.
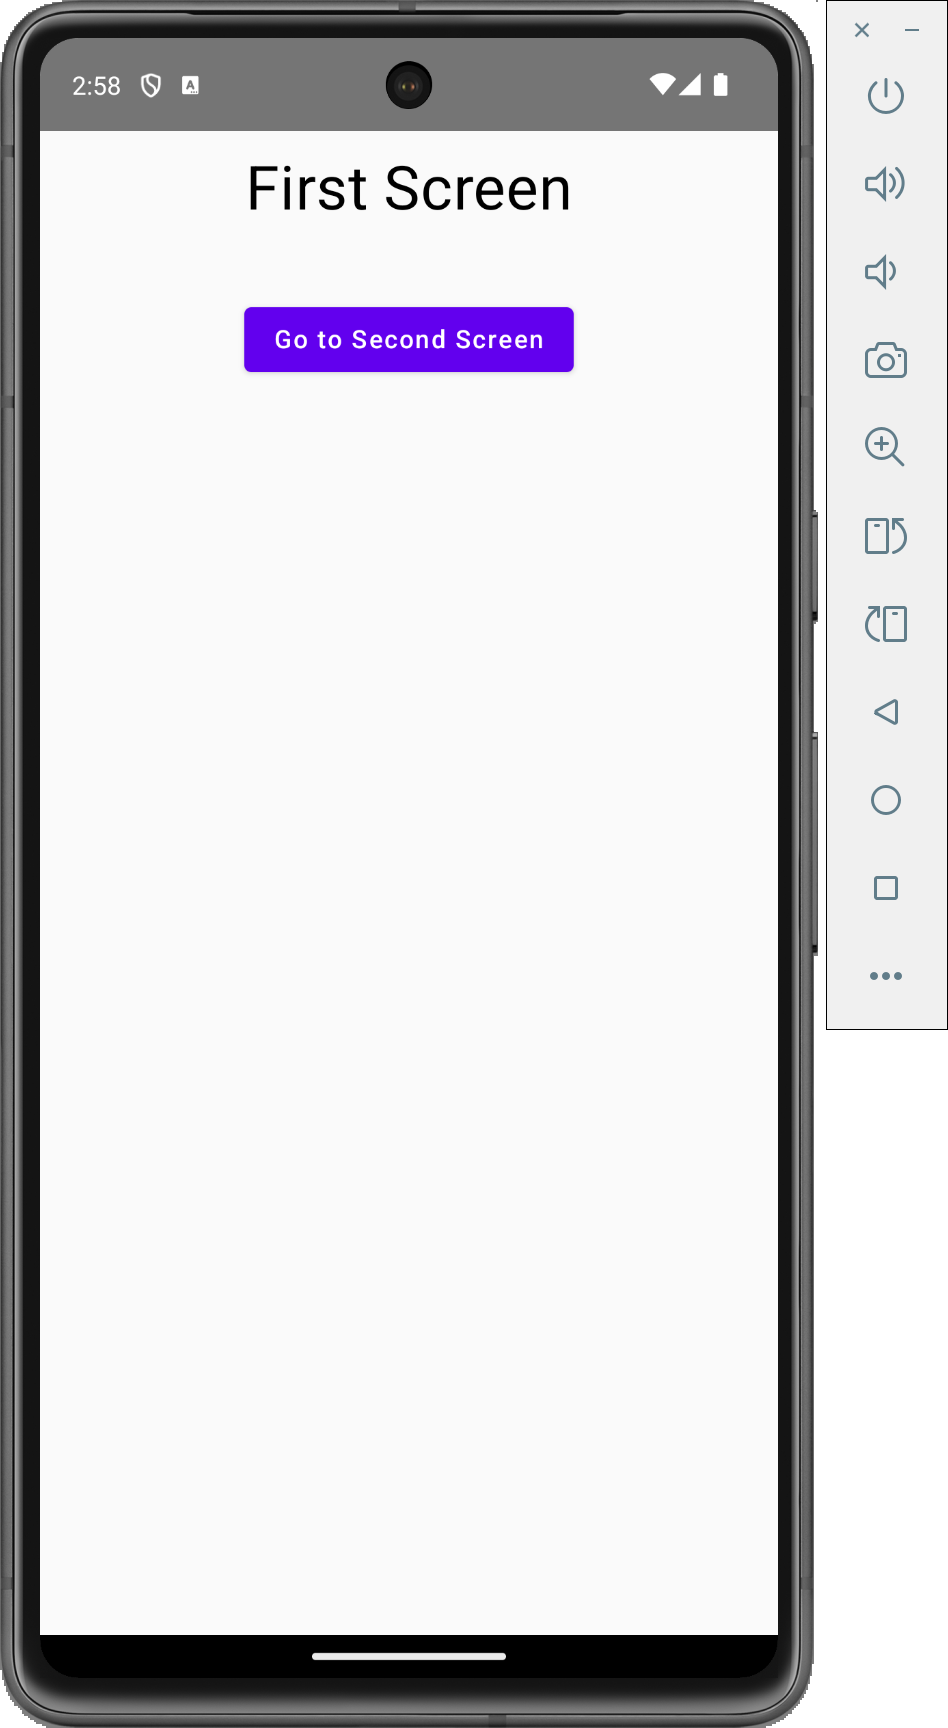
3. Code for FirstScreen.kt file:
|
1 2 3 4 5 6 7 8 9 10 11 12 13 14 15 16 17 18 19 20 21 22 23 24 25 26 27 28 29 30 31 32 33 34 35 36 |
package com.app.test.screens import androidx.compose.foundation.layout.* import androidx.compose.material.* import androidx.compose.runtime.Composable import androidx.compose.ui.Alignment import androidx.compose.ui.Modifier import androidx.compose.ui.graphics.Color import androidx.compose.ui.text.style.TextAlign import androidx.compose.ui.unit.dp import androidx.navigation.NavHostController @Composable fun FirstScreen(navController: NavHostController) { Column( modifier = Modifier .padding(12.dp) .fillMaxWidth(), horizontalAlignment = Alignment.CenterHorizontally ) { Text( text = "First Screen", style = MaterialTheme.typography.h4, color = Color.Black, textAlign = TextAlign.Center ) Spacer(modifier = Modifier.height(40.dp)) Button( onClick = { navController.navigate("second_screen") } ) { Text("Go to Second Screen") } } } |
Code explanation:
1. Composable Function: FirstScreen(navController: NavHostController):
- This function is annotated with @Composable, meaning it’s a building block of your UI.
- It takes a NavHostController as a parameter to allow navigation to other screens.
2. Button component
- onClick action triggers navController.navigate(“second_screen”), which navigates the user to the second screen.
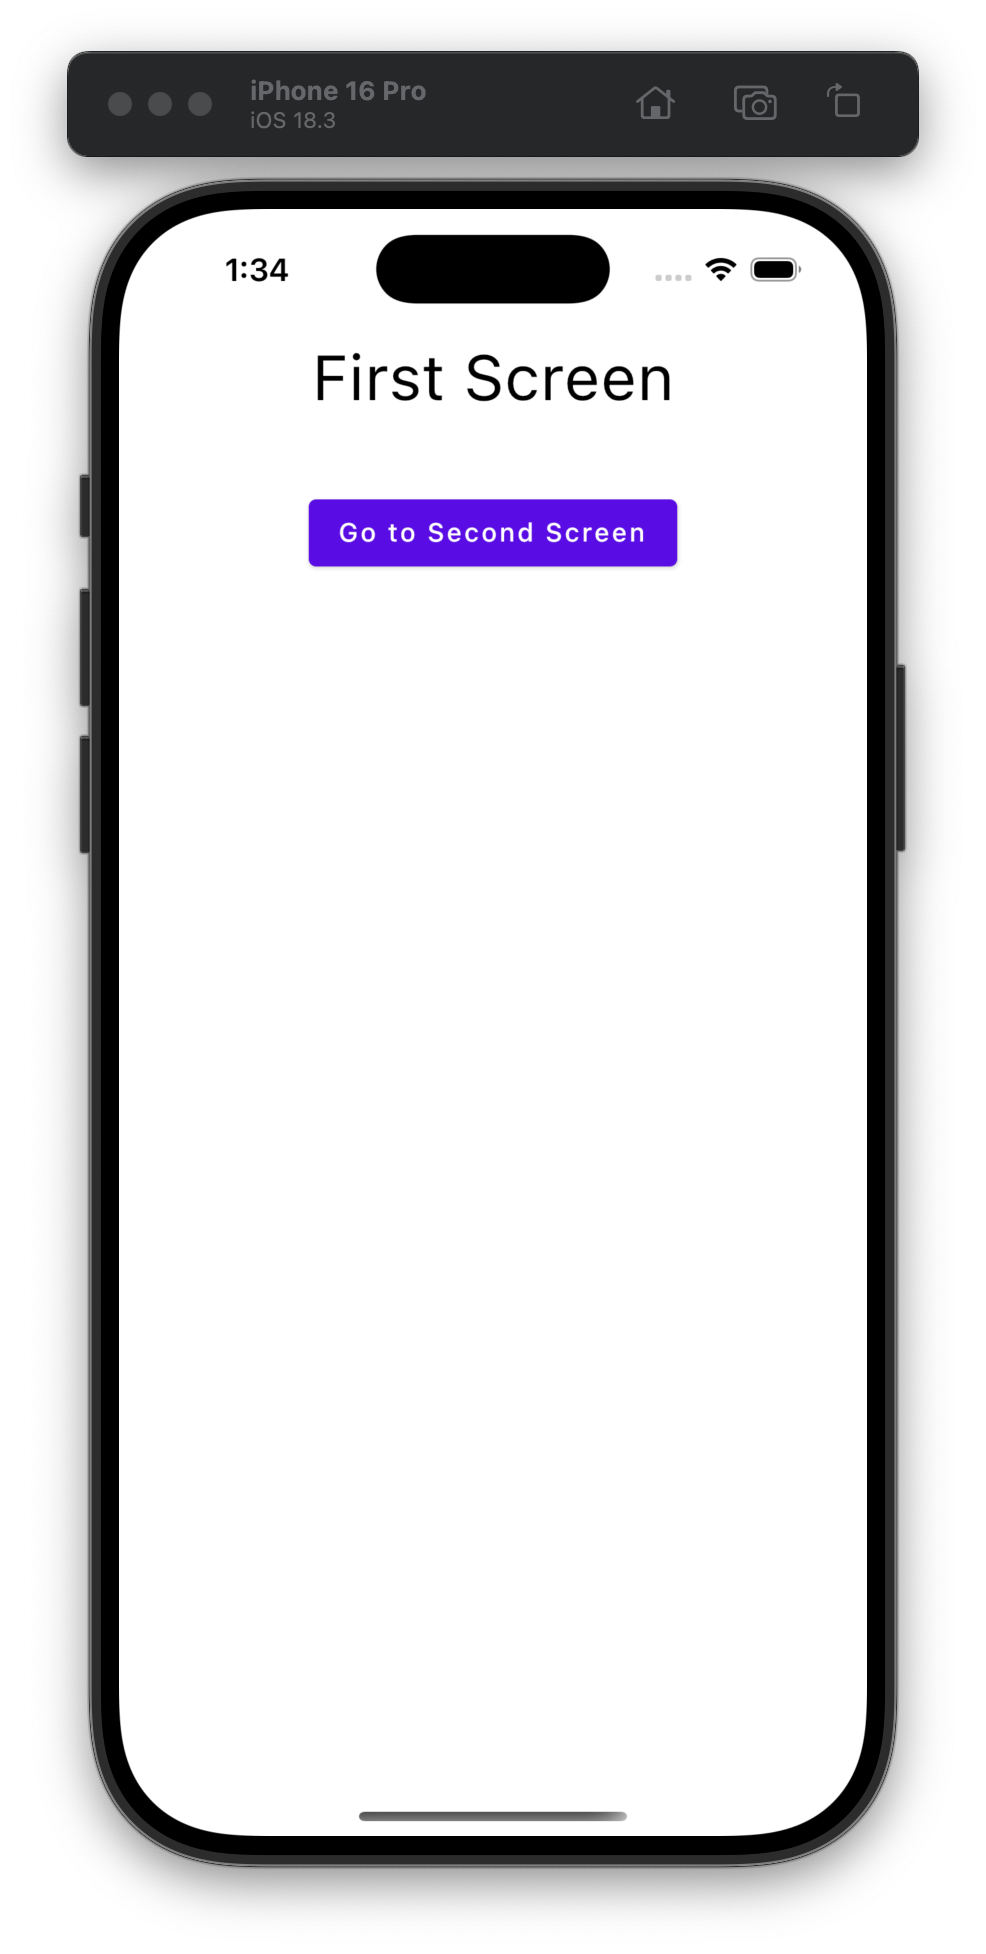
Screenshot:
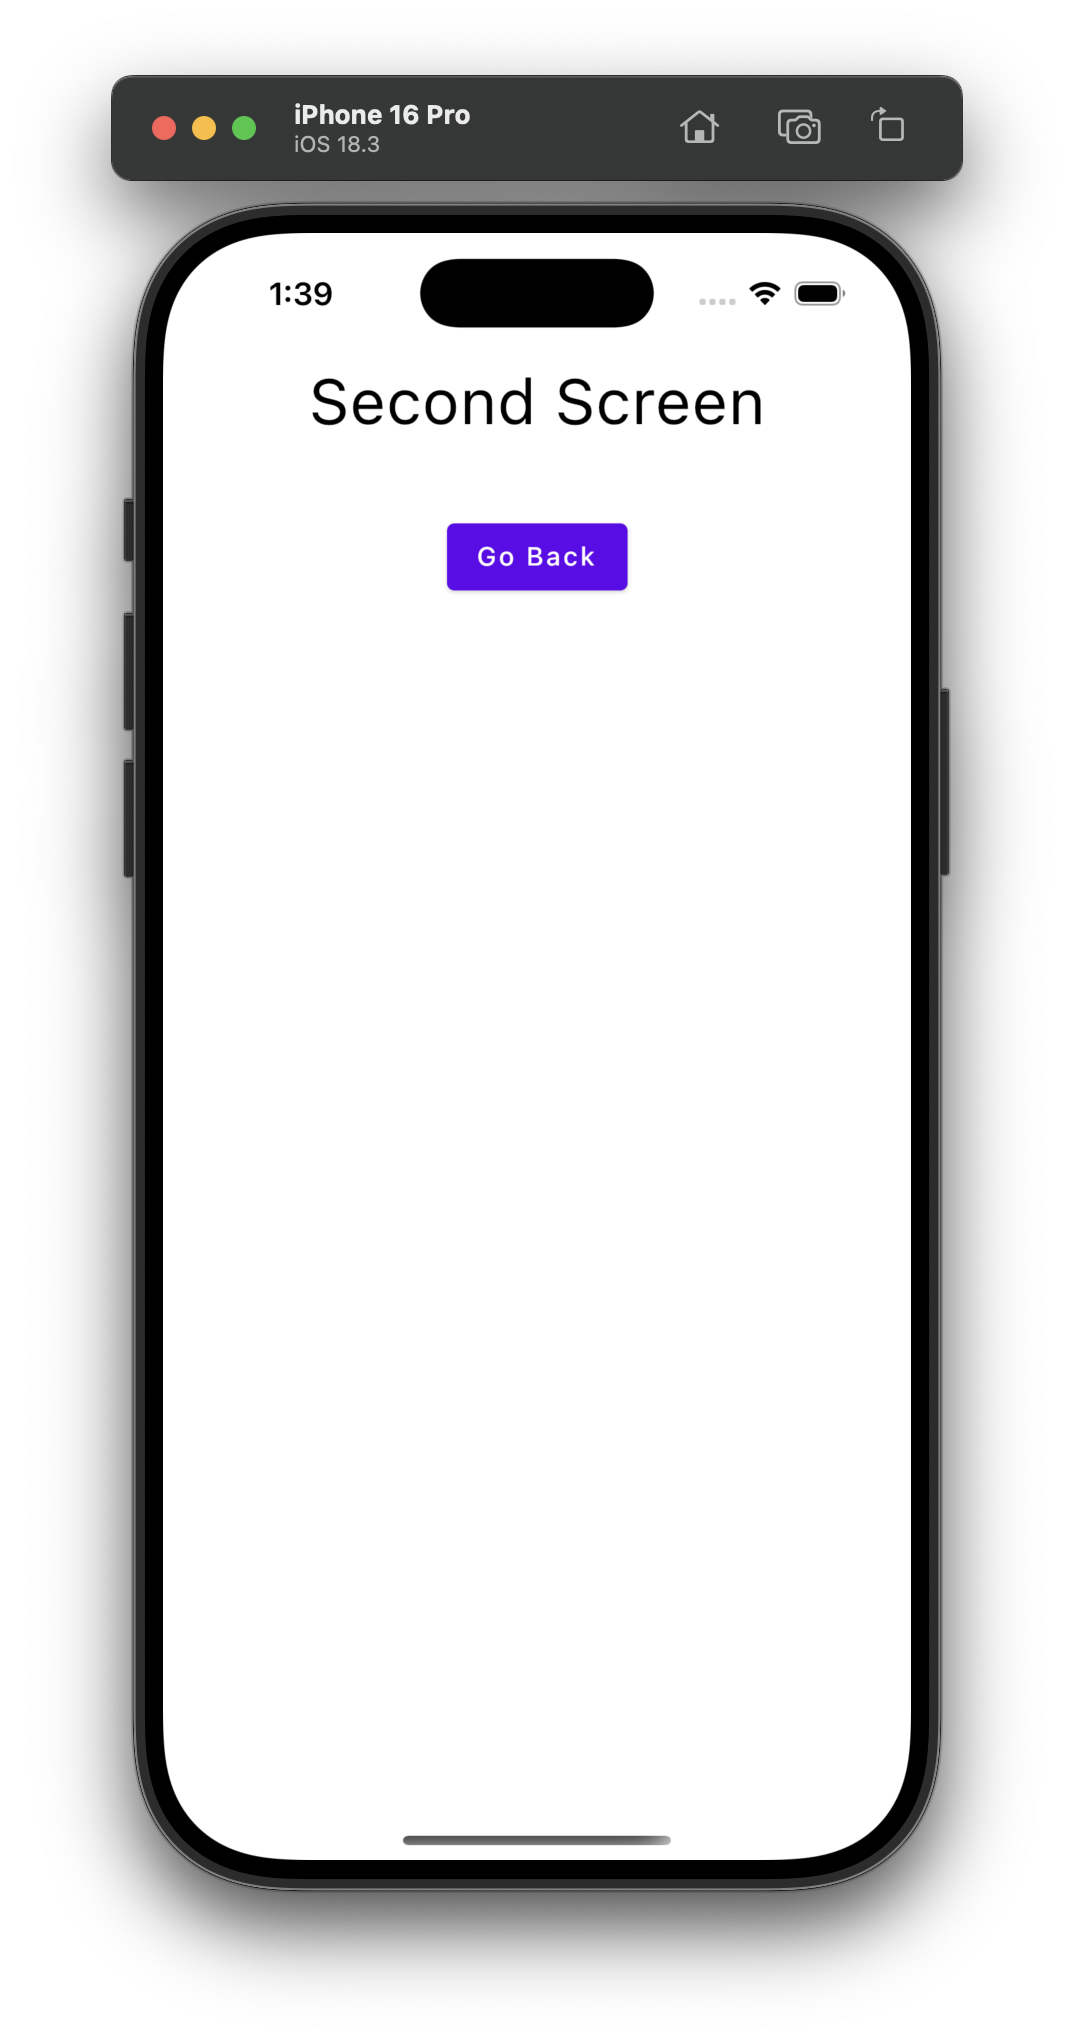
3. Code for SecondScreen.kt file:
|
1 2 3 4 5 6 7 8 9 10 11 12 13 14 15 16 17 18 19 20 21 22 23 24 25 26 27 28 29 30 31 32 33 34 35 36 |
package com.app.test.screens import androidx.compose.foundation.layout.* import androidx.compose.material.* import androidx.compose.runtime.Composable import androidx.compose.ui.Alignment import androidx.compose.ui.Modifier import androidx.compose.ui.graphics.Color import androidx.compose.ui.text.style.TextAlign import androidx.compose.ui.unit.dp import androidx.navigation.NavHostController @Composable fun SecondScreen(navController: NavHostController) { Column( modifier = Modifier .padding(12.dp) .fillMaxWidth(), horizontalAlignment = Alignment.CenterHorizontally ) { Text( text = "Second Screen", style = MaterialTheme.typography.h4, color = Color.Black, textAlign = TextAlign.Center ) Spacer(modifier = Modifier.height(40.dp)) Button( onClick = { navController.popBackStack() } ) { Text("Go Back") } } } |
Code explanation:
1. Button Component – Navigation Logic
- When pressed, it triggers navController.popBackStack(), which removes the top screen (this one) from the navigation stack, effectively taking the user back to the previous screen (FirstScreen).
Screenshot:
3. Code for App.kt file:
|
1 2 3 4 5 6 7 8 9 10 11 12 |
package com.app.test import androidx.compose.material.MaterialTheme import androidx.compose.runtime.Composable import com.app.test.navigation.AppNavigation @Composable fun App() { MaterialTheme { AppNavigation() } } |
Code explanation:
1. Imports the navigation function you created earlier (AppNavigation):
- This makes the navigation logic composable in the root app, so it’s executed when it runs.
Screenshots on an Android device:

In Android, when I am using this package, I am seeing this warning log: “OnBackInvokedCallback is not enabled for the application. Set ‘android:enableOnBackInvokedCallback=”true”‘ in the application manifest.” To resolve this error, you have to put
|
1 |
android:enableOnBackInvokedCallback="true" |
In the AndroidManifest.xml file, in the application tag.
Code:
|
1 2 3 4 5 6 7 8 9 10 11 12 13 14 15 16 17 18 19 20 21 22 23 24 25 26 27 |
<?xml version="1.0" encoding="utf-8"?> <manifest xmlns:android="http://schemas.android.com/apk/res/android"> <uses-permission android:name="android.permission.INTERNET"/> <uses-permission android:name="android.permission.ACCESS_NETWORK_STATE"/> <application android:allowBackup="true" android:icon="@mipmap/ic_launcher" android:label="@string/app_name" android:roundIcon="@mipmap/ic_launcher_round" android:supportsRtl="true" android:theme="@android:style/Theme.Material.Light.NoActionBar" android:enableOnBackInvokedCallback="true"> <activity android:exported="true" android:configChanges="orientation|screenSize|screenLayout|keyboardHidden|mnc|colorMode|density|fontScale|fontWeightAdjustment|keyboard|layoutDirection|locale|mcc|navigation|smallestScreenSize|touchscreen|uiMode" android:name=".MainActivity"> <intent-filter> <action android:name="android.intent.action.MAIN" /> <category android:name="android.intent.category.LAUNCHER" /> </intent-filter> </activity> </application> </manifest> |
Thank you, Happy coding.